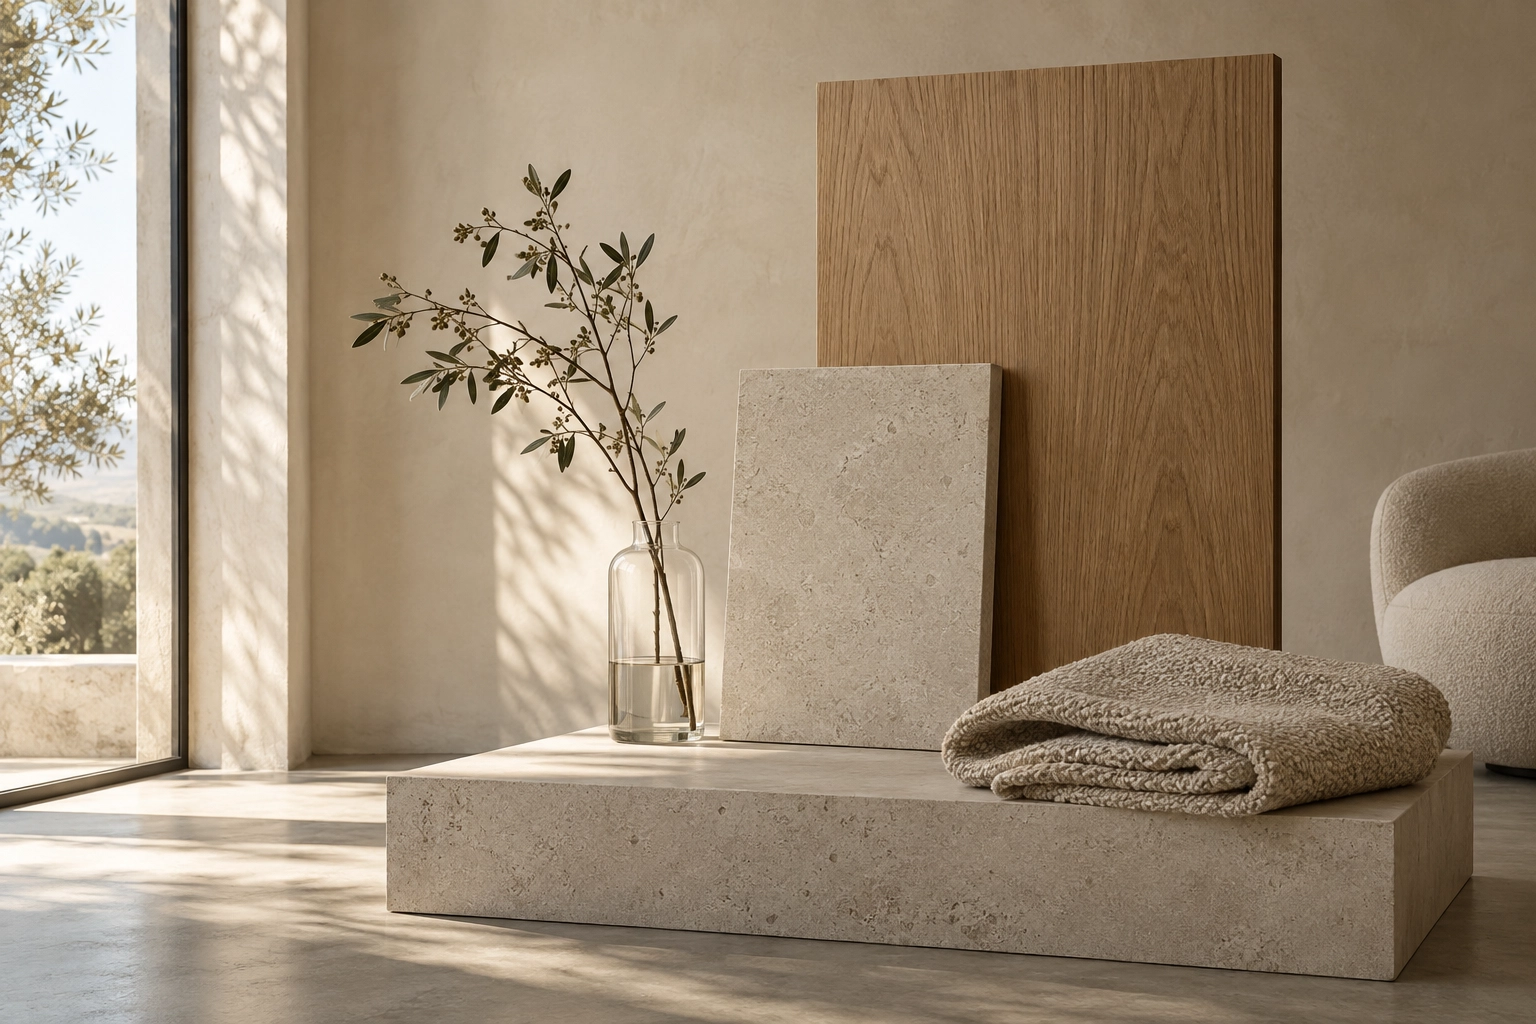
Ceramic Tiles for Floors, Walls and Project Surfaces
Compare porcelain, ceramic, wood-look, mosaic and paving options by application, size and finish. Confirm the specifications for each selected tile model before ordering.
Tile Families for Floors, Walls and Feature Surfaces
Explore glazed porcelain, matt and rustic surfaces, wood-look planks, decorative wall tiles, paving and mosaics within one ceramic tiles category. These names describe different aspects of a tile: its body, finish, appearance or intended application. A wood-look tile can also be glazed porcelain; a terrazzo design can come in several finishes.
01
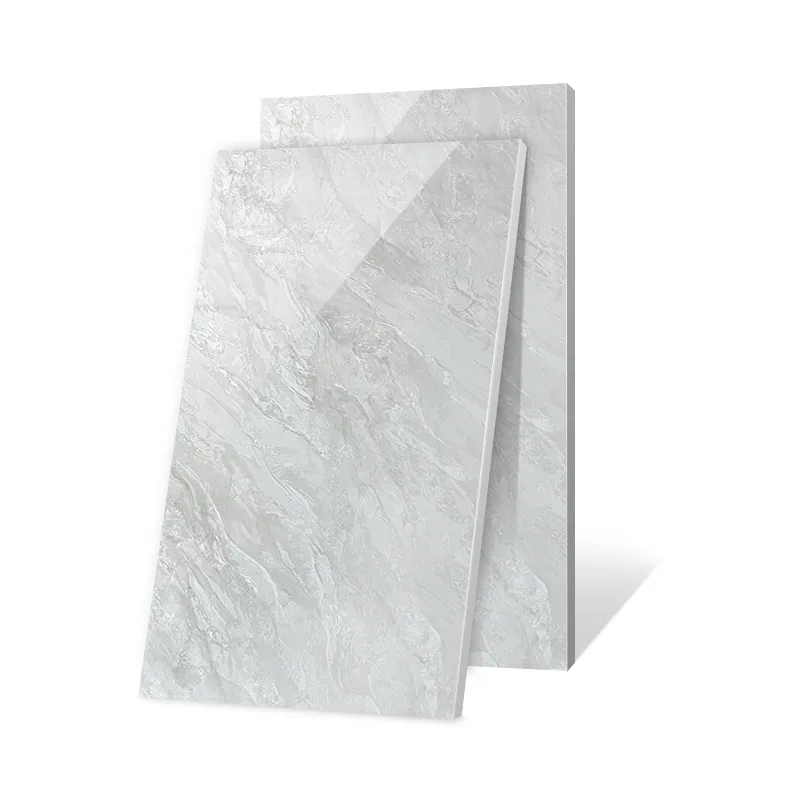
Glazed Porcelain
Glazed porcelain combines a porcelain body with a decorated surface. Marble veining, stone markings and quieter solid tones offer different visual directions within this group. Polished and matt versions can change the reflection even where the design is similar.
Compare a full tile and several faces, especially for a large floor or continuous wall. Vein direction, edge treatment and the relationship between adjoining pieces matter alongside the colour.
Catalogue examples: 600 × 600, 600 × 1200 and 750 × 1500 mm.
02
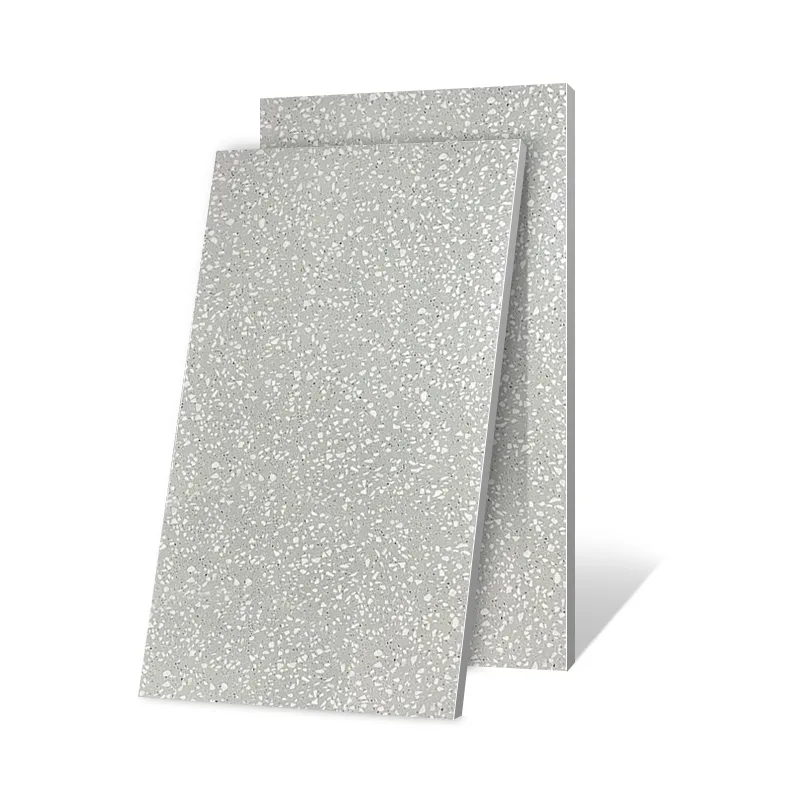
Matt and Rustic Tile
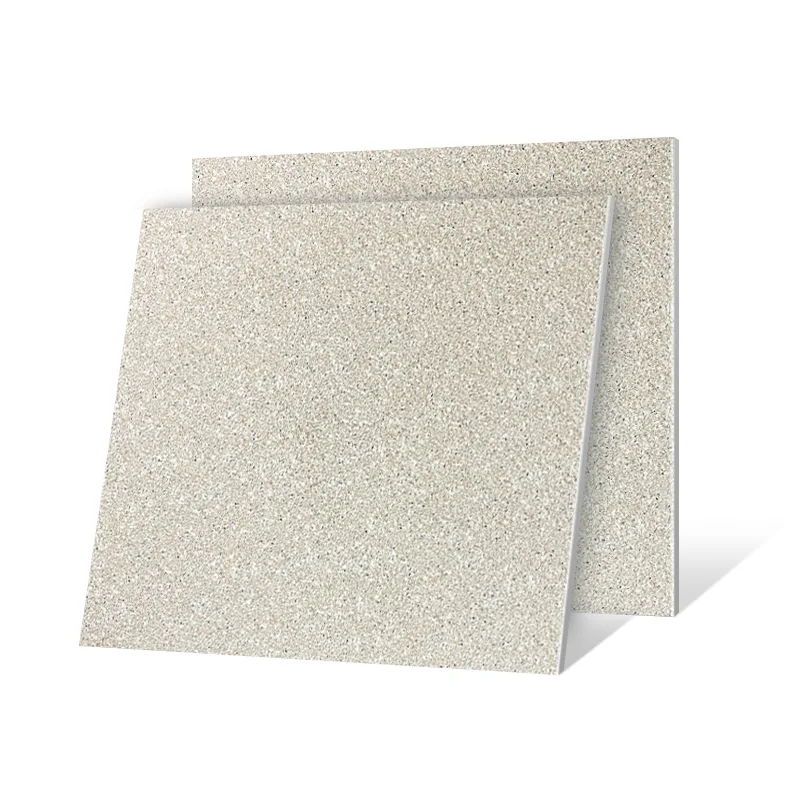
The rustic range includes limestone, cement, stone and terrazzo directions with matt or structured surfaces. Some designs keep the pattern quiet; others use grain, mottling or stronger colour variation to give each piece a different character.
Matt describes the visible finish, while rustic is a collection description. Neither label supplies a slip or wear rating. Compare the surface sample with the intended traffic, cleaning and exposure requirements.
Catalogue examples: 600 × 600 and 600 × 1200 mm.
03
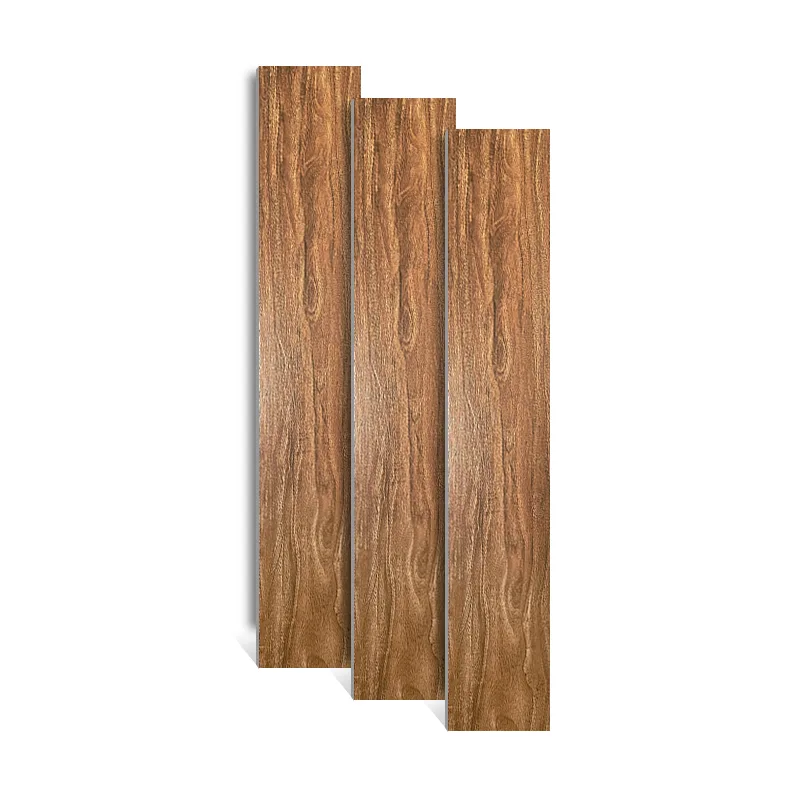
Wood-Look Tile
Narrow planks reproduce wood grain and knots for a timber-like appearance. Wider rectangular formats create a different pattern, so the same colour can look quite different across a room.
Plank width, length, face count and the chosen offset affect pattern repetition. Include the laying direction and the transitions at doorways in the layout; the printed grain is a visual effect, not a timber construction.
Catalogue plank examples: 150 × 900, 200 × 1000 and 200 × 1200 mm.
04
Wall and Decorative Tile
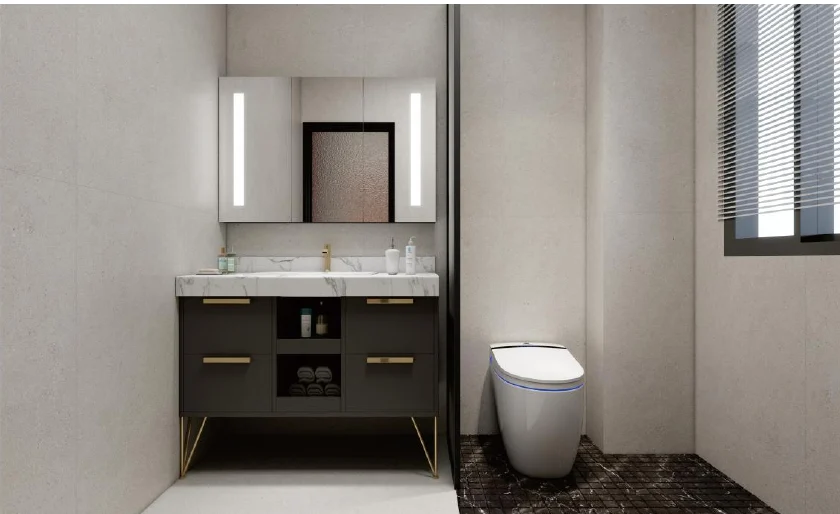
Small squares and narrow rectangles bring colour and joint pattern to splashbacks and feature walls. Larger wall references create longer lines around bathroom fittings, mirrors and openings. A plain tile and a decorative accent can share a palette without using the same module.
Coordinate outside corners, exposed ends, trims and cut pieces with the elevation. A tile intended for a wall should not be treated as a floor product without the relevant product information.
Range references: 75 × 300 mm decorative pieces and 300 × 600 mm wall formats.
05
Exterior and Paving Tile
Paving references include square and rectangular pieces with stone-like colours and visible edges. Their format and thickness need to fit the proposed build-up, thresholds and drainage, rather than being selected only to match an interior colour.
Review the tile and installation requirements for the proposed fixing or support system. Confirm climate exposure, loads and suitability for the selected paving model; a catalogue scene cannot establish these details.
Catalogue examples: 300 × 600, 600 × 600 and 600 × 1200 mm.
06
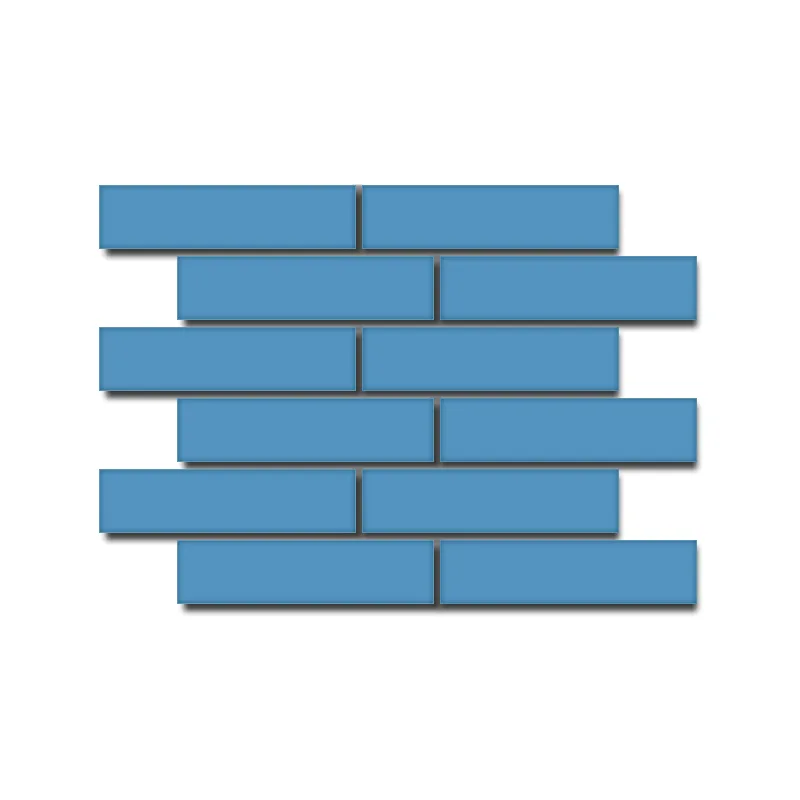
Mosaic and Pool Tile
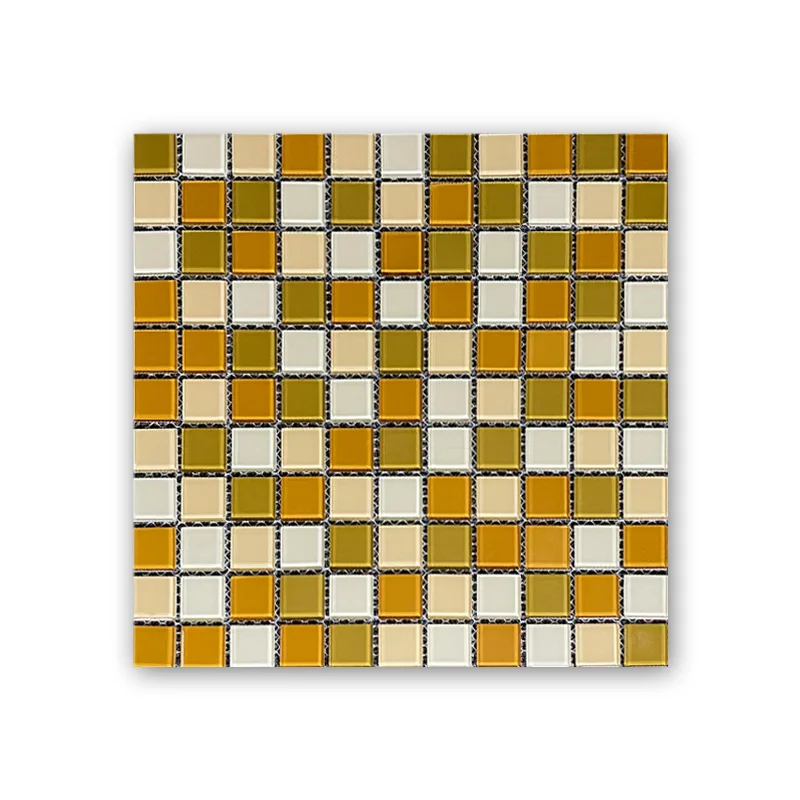
Mosaics build a surface from small chips or shapes, often arranged in sheets. The collection references include colour blends and stone-like patterns for waterlines, pools and decorative areas. Chip size and sheet size are separate dimensions.
Align joints between sheets with those within each sheet so the module remains consistent. Curves, steps and drains may need extra cuts or a different arrangement. The selected body, backing and installation materials must suit the intended exposure.
Confirm the sheet dimensions and individual chip size for the selected model.
Tile Construction
Separate the Body, Glaze and Edge
A tile specification has several layers. The body identifies the underlying material; the glaze and surface treatment describe the visible face; the edge affects the joint detail. Recording these separately makes comparisons clearer when two tiles share a similar colour or pattern.
Ceramic and Porcelain Bodies
Porcelain is a ceramic tile classification associated with low water absorption. A marble-look image or a white body does not establish that classification. Use the product's material description and test information to identify the body, then review its stated floor, wall or exterior applications.
Keep body selection linked to the intended use. The same visual design can appear on different products with different technical information.
Glazed and Unglazed Surfaces
A glazed tile has a surface layer that can carry colour, graphics and texture. Porcelain can be glazed or unglazed, so porcelain and glazed are not opposing choices. Polishing or a matt treatment adds another part to the description.
Catalogue labels such as White Body and Full Body should remain attached to their exact reference. They do not, by themselves, describe every property of the tile.
Rectified and Other Edge Details
Rectified refers to an edge finished to control the tile's dimensions. Other edge profiles may be rounded, bevelled or deliberately irregular. Compare the actual sample edge with the proposed grout joint and the appearance of the completed surface.
A straight edge still requires joint planning. Actual size variation and the installation conditions affect the spacing; a rectified label does not mean a joint-free installation.
Thickness and Surface Build-Up
Tile thickness is one part of the finished floor or wall build-up. Adjoining flooring, adhesive, substrate and trims also affect the completed level. A thicker paving reference changes the interface at a threshold or step.
Show transitions in the drawings before selection is fixed. Decorative borders and pieces from another series may have a different thickness even where their nominal dimensions match.
Application First
Match the Tile to the Surface It Will Cover
Room names help describe the brief, but the exact location matters more. A bathroom wall, shower floor and submerged pool surface are different applications. Use the intended location, traffic and exposure to narrow the product choice before comparing its colour.
01
Interior Floors
Living areas, corridors and kitchens combine movement, furniture and everyday cleaning. Format changes the joint pattern; the chosen surface changes light and texture. Identify heavy traffic, entrance dirt or other conditions so the wear and surface-use requirements can be matched to the proposed tile.
02
Interior Walls
Plan wall modules around cabinets, mirrors, sockets and openings. Larger pieces need their weight and fixing arrangement reviewed with the wall build-up. Small-format accents introduce more joints and can require a different trim or corner detail. Use the elevation to identify deliberate changes in size or finish.
03
Wet Areas and Pools
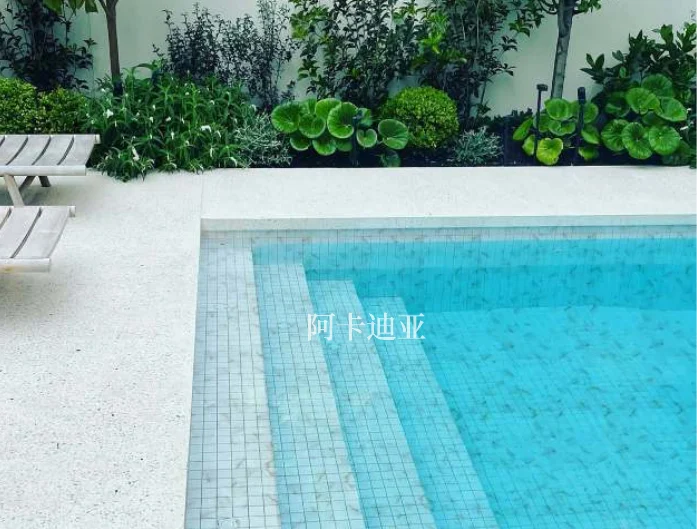
Distinguish submerged areas, splash-exposed walls and walked-on wet surfaces. Mosaic modules, drain positions and falls are part of the layout. The tile is one component of the assembly: the project team also needs compatible backing, adhesive, grout and waterproofing details for the intended exposure.
04
Exterior and Paving
Terraces, paths and pool surrounds need a coordinated build-up, drainage and edge arrangement. Sun, rain, freezing conditions or vehicle loading can change the brief. Describe the location and proposed support method, then obtain the applicable product and installation information for that exact paving reference.
Size affects the tile pattern, cuts and grout joints. The dimensions below are catalogue examples, not a list of stocked sizes. Record the nominal size, actual size and thickness for each selected model in your tile list.
Tile format examples and their layout considerations
Format
Catalogue Examples
Selection and Layout Notes
Square
Catalogue Examples600 × 600 and 1200 × 1200 mm
Selection and Layout NotesA square module gives equal spacing in both directions. Larger squares create longer uninterrupted faces, while smaller squares place more joints across the same area. Compare the grid with room widths, door positions and the cuts at the perimeter.
Rectangular
Catalogue Examples300 × 600, 600 × 1200 and 750 × 1500 mm
Selection and Layout NotesThe long edge establishes a direction on a floor or wall. Portrait and landscape arrangements change the elevation. A rectangular module can align with adjoining tiles only when actual dimensions and the proposed joints work together.
Plank
Catalogue Examples150 × 900, 200 × 1000 and 200 × 1200 mm
Selection and Layout NotesNarrow proportions emphasize grain and laying direction. Width, offset and face variation affect how often a pattern repeats. Check long pieces against the intended layout and the tile manufacturer's installation guidance.
Mosaic sheet
Catalogue ExamplesChip and sheet sizes vary by reference
Selection and Layout NotesThe sheet is an installation module made from smaller pieces. Record chip size, sheet dimensions and joint spacing. Sheet boundaries should not form a second, more visible grid; cuts around drains and curves need separate attention.
Format and Layout
Plan the Pattern, Cuts and Transitions Together
Use the actual room or wall dimensions to check the tile size and layout. Mark a starting line, the pattern direction and how the arrangement meets openings, fixed furniture and neighbouring surfaces. Resolve visible cuts before finalizing quantities.
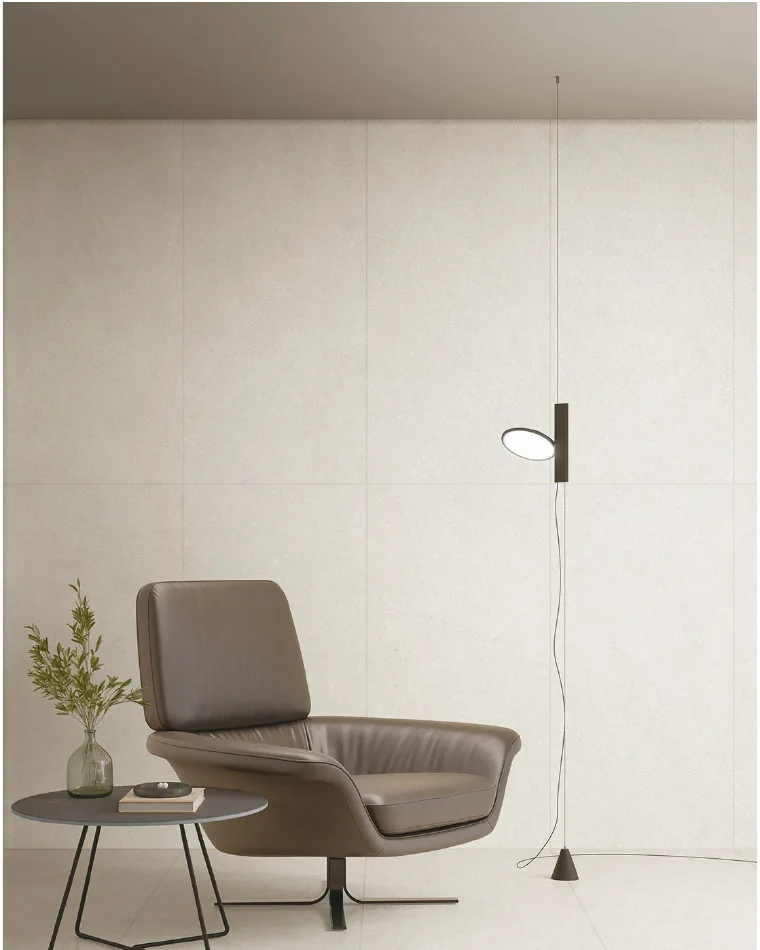
Lime Stone catalogue · wall and floor layout
Straight and Staggered Arrangements
A straight grid aligns joints from row to row; a staggered layout shifts them. Long rectangular pieces need the offset reviewed with the selected tile, rather than assuming a half-tile shift. Tile warpage, substrate flatness and joint spacing all affect the result.
Plank Direction and Feature Patterns
A plank run can follow a room's long dimension or deliberately cross it. Herringbone introduces a different direction and more perimeter cuts. Show the proposed pattern at thresholds and corners so the change of direction is intentional and the pieces suit the arrangement.
Perimeter Cuts and Quantity Allowance
Check the pieces beside doors, drains, niches and exposed ends, not only the middle of the room. Record net area separately from allowance and replacement stock. The installer should review the pattern and cutting needs before an allowance is agreed.
Joints, Levels and Visible Edges
Grout colour can emphasize the module or soften its lines. Joint width must accommodate the actual tile and installation conditions. Lippage is a height difference between neighbouring edges; reflected light can make it more noticeable. Coordinate movement joints, trims and finished floor transitions with the project team.
Surface and Visual Language
Polished, Matt, Lappato and Structured Surfaces
Surface names describe different visible treatments. Compare samples in the intended lighting and with the proposed grout, then review the technical information for the selected finish. One collection can offer several surface versions without giving each version the same application or test record.
Polished and Reflective
A reflective face makes light, veining and reflections part of the composition. The catalogue includes full polished glazed marble-look references alongside matt alternatives. Review a larger sample area to see how reflections change across joints and adjoining pieces. Use the finish reference with the product code; a polished appearance does not establish the tile body.
Matt and Natural
Matt finishes give a less reflective visual direction and appear across stone, cement, wood and terrazzo designs. A smooth matt tile and a textured matt tile can feel and read differently, even in similar colours. Compare the actual texture as well as the name; matt is not a measured slip rating.
Structured
Relief and grain can reinforce the visual character of stone or other patterned surfaces. Examine the surface at an angle and review how its texture meets grout and cut edges. For slip requirements, use the specified test method and applicable product-use information. Texture in a photograph is not a measured rating.
Lappato and Part-Polished
Lappato describes a partially polished surface, creating a different relationship between reflected light and the remaining texture. The Bologa catalogue lists a lappato version for its 600 × 600 mm range. The same option is not automatically available in every size, so record the finish for each reference.
Colour, Pattern and Scale
Marble, Stone and Terrazzo-Look Tiles
Choose the tile pattern alongside its size and finish. Compare the pattern scale with the room and check repetition across several pieces. These catalogue examples show stone-inspired tile designs, not natural-stone products.
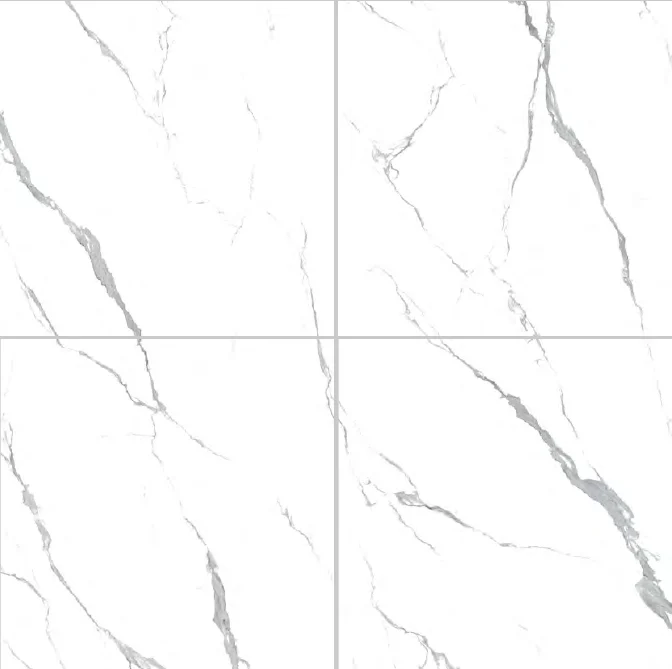
Fish Maw White catalogue detail
Marble-Look Veining
Fine veins and stronger markings can appear within one design. Look at their direction, the contrast against the background and how each face sits beside the next. A four-face collection is not automatically a bookmatched set; continuous veining needs its own clearly identified layout reference.
Andes Santone catalogue detail
Stone and Cement Character
Mottling, grain and quieter tonal changes give a different effect from directional marble veins. Similar-looking designs can use different bodies and surface treatments. Compare the colour under the room lighting and against the grout, joinery and adjoining floor finishes before approving a reference.
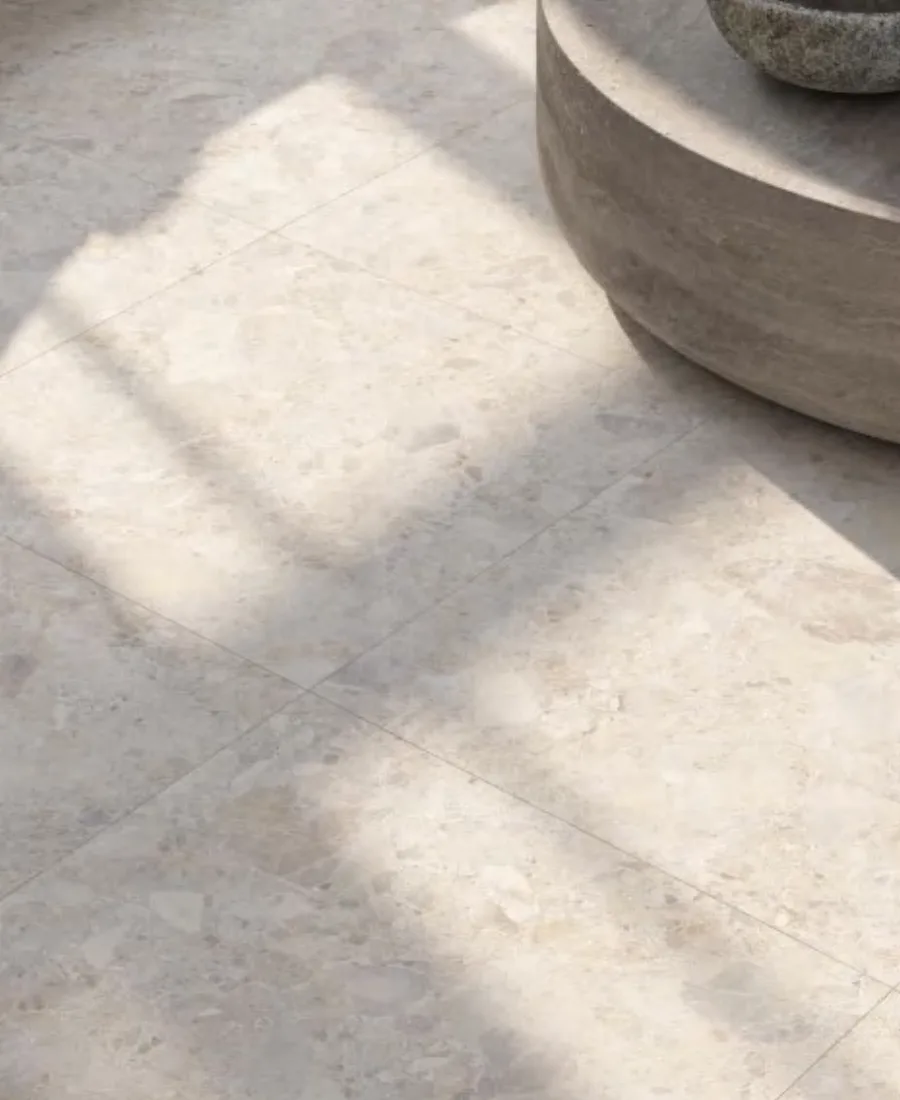
Beaumont Terrazzo catalogue scene
Terrazzo-Look Aggregate
Chip scale and contrast change how a terrazzo pattern reads at close range and across a whole floor. Fine speckling can look quieter than larger contrasting fragments. Review more than one tile, including the selected size and finish, to assess the pattern with its joints.
Faces, Shade and Batch
Review More Than One Piece
A design face is one distinct pattern within a collection. Shade variation describes differences in appearance between pieces, while batch numbers and shade codes identify production groups. More design faces do not necessarily mean greater colour variation, and appearance may still vary between batches.
Fish Maw White catalogue · four design faces
Graphic Faces and Repetition
Several faces reduce the repetition of one printed image, but the arrangement still matters. Lay out representative pieces to review repeated markings and direction. The available face set can change with tile size, so use the count attached to the specific format.
Shade and Sample Approval
Use a representative set to agree the expected colour and pattern range. A single sample cannot show a complete collection's variation. Keep the sample reference and approval notes with the schedule, especially when adjoining rooms should share the same visual direction.
Batch References and Spare Stock
Record the product, shade and calibre information needed to identify the order. Retain carton references for receiving and future enquiries. Discuss replacement stock before ordering; a later batch may not reproduce the original appearance, even where the product code remains the same.
Catalogue Specification Examples
See How Details Change Within a Collection
These examples show the fields recorded in the reviewed catalogues. They are reference points for selection, not stock listings or confirmed project specifications. Current availability, samples and technical documents are reviewed for the quotation.
Rustic Porcelain Catalogue
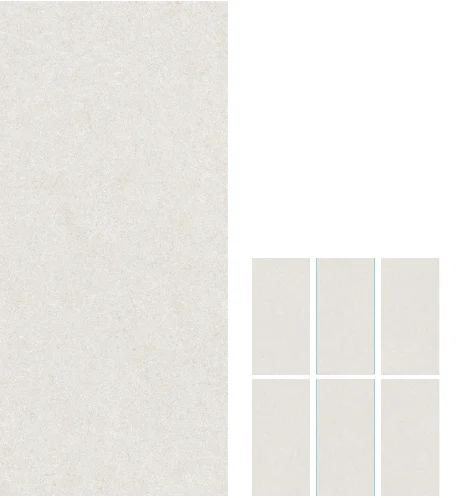
Lime Stone
600 × 1200 mm
612PM01 · 9.8 mm · 6 faces · V2
600 × 600 mm
60PM01 · 9.0 mm · 12 faces · V2
The two formats carry different thicknesses and face counts in the same catalogue spread. Keep those fields with each code when comparing a floor and wall layout; the collection name alone does not specify the module.
George Tile Catalogue
Fish Maw White
Format and faces
1200 × 1200 mm · 4 faces
Finish references
T1212080M matt · T1212P080 full polished glazed
The catalogue pairs a white-body marble-look design with two surface references. Specify the finish code as well as the colour name. The four-face layout above illustrates the pattern set, rather than a guaranteed continuous vein.
George Tile Catalogue
Bologa Terrazzo
600 × 600 mm
Matt, lappato and textured catalogue versions
600 × 1200 mm
Matt catalogue version
The square and rectangular pages do not list the same finish choices. Select a size and its corresponding reference together; do not extend the square-format finish list to every Bologa tile.
Specification Review
Check Tile Specifications Before Requesting a Quote
Confirm the size, finish, intended use and order requirements for each tile model before requesting a quote. Specifications may vary between sizes and finishes within the same collection.
Tile specifications and details to confirm before requesting a quote
Specification
Why It Matters
Details to Confirm
Size and thickness
Why It MattersActual tile dimensions, thickness and grout joints affect the layout and finished surface level.
Details to ConfirmNominal and actual size, calibre or tolerance, thickness and edge condition.
Body and intended use
Why It MattersThe tile body and stated applications determine where the product can be used; appearance alone is not enough.
Details to ConfirmMaterial or body description and the supplier's stated applications for the exact series.
Surface and edge
Why It MattersThe surface finish affects appearance and texture; the edge profile affects grout joints and exposed edges.
Details to ConfirmFinish name, texture, rectified or non-rectified edge and any directional layout notes.
Performance requirements
Why It MattersWater absorption, wear and slip resistance need to be reviewed against the intended use and applicable test methods.
Details to ConfirmWater absorption, slip and wear requirements, test method and destination compliance where applicable.
Visual variation
Why It MattersPattern variation, shade and batch information help define the appearance approved for the order.
Details to ConfirmShade variation, number of design faces, approved sample set, batch number and shade code.
Packing and order terms
Why It MattersCarton quantities and coverage help calculate the order, plan delivery and check the goods on arrival.
Details to ConfirmPieces and area per carton, pallet data, MOQ, lead time and package identification in the quotation.
Sampling and Order Coordination
Bring the Sample, Layout and Quantity Together
Start with the project information you have. A room-by-room tile list can record each selected model, its intended use, size and quantity, along with any details still to be confirmed with your designer or installer.
01
Compare a Representative Sample Set
Identify the preferred family, colour, size and finish. For patterned or variable tiles, request a set that represents more than one face. Review it with the proposed grout and adjoining materials; keep the approved reference with the drawings rather than relying only on a screen image.
02
Prepare Drawings and Quantities
Share plans or elevations with room names, areas, openings and pattern direction. Separate measured net area, the installer-reviewed allowance and spare stock. Include the substrate, wet or dry location and any required technical criteria so the intended use is clear.
03
Identify Destination and Timing
Provide the project country or city, required dates and any document or packing needs. List the size, finish and quantity for each model in the quote. Agree carton and package labels so the receiving team can check deliveries against the same list.
Answers to common questions about tile selection, samples, quantities and order details. Confirm suitability and technical information for the selected model and project location.
01How do I choose the right tile for each area?+
Start with the intended floor or wall location, substrate, traffic, moisture, climate and any slip or wear requirement. Then compare the body, size, surface, edge and technical information for the exact series. A similar appearance does not mean two tiles have the same intended use.
02What should we confirm about shade and size variation?+
Confirm the shade variation, number of design faces, size tolerance and batch identification for the selected model. Approve a representative sample set rather than a single tile. Agree the quantity allowance and spare tiles with your project team before ordering.
03How should I calculate tile quantities for a quote?+
Share plans, elevations or measured areas by room or zone. The designer or installer should review the proposed module, cuts, laying pattern, breakage allowance and future replacement stock. Keep the net area and added allowance visible as separate figures.
04Can one tile be used indoors, outdoors and in wet areas?+
Not automatically. Suitability depends on the exact body, surface, thickness, test results, substrate, exposure and local project requirements. Identify whether the area is interior, exterior, submerged, splash-exposed or walked on so the relevant series information can be checked.
05What information should I send with a tile enquiry?+
Send drawings or areas by room, the intended use, substrate, preferred tile type, size, colour and finish. Include any technical requirements, estimated quantities, project location and target dates. Reference images help explain the appearance you want, but the selected model and its specifications still need to be confirmed.
Start a Conversation
Ready to Start Your Project
Share the project information you have. We will review the scope and prepare a quotation.